centos6.5 yum安装nginx+hhvm+mariadb环境
一直都听说hhvm的性能怎么怎么好,速度怎么怎么快,就想自己也搭建个环境来测试下,在搭建的中途遇到的了各种坑,让我拖到今天才终于把hhvm搭建成功.好了,下面来看教程吧.
系统:centos 6.5(64位)
1.添加搭建hhvm需要的源
wget -O /etc/yum.repos.d/CentOS-Base.repo http://mirrors.163.com/.help/CentOS6-Base-163.repo
wget -O /etc/yum.repos.d/hop5.repo http://www.hop5.in/yum/el6/hop5.repo
rpm -Uvh http://ftp.riken.jp/Linux/fedora/epel/6/x86_64/epel-release-6-8.noarch.rpm
或者
rpm -Uvh http://download.slogra.com/yum-x86_64/epel-release-6-8.noarch.rpm
yum -y install libmcrypt-devel glog-devel jemalloc-devel tbb-devel libdwarf-devel mysql-devel \
libxml2-devel libicu-devel pcre-devel gd-devel boost-devel sqlite-devel pam-devel \
bzip2-devel oniguruma-devel openldap-devel readline-devel libc-client-devel libcap-devel \
libevent-devel libcurl-devel libmemcached-devel
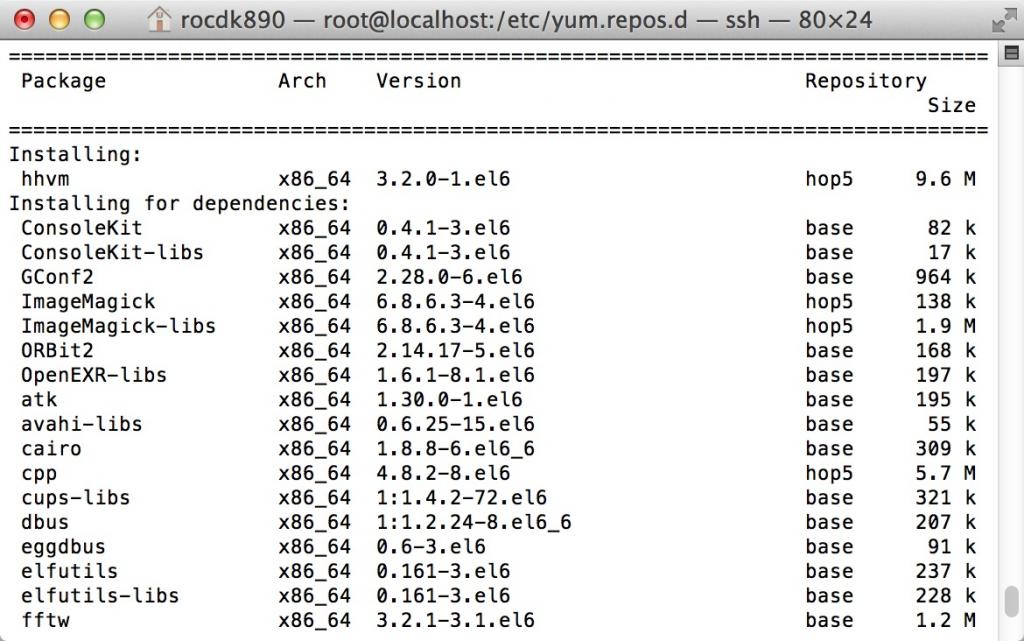
2.安装hhvm
yum install hhvm -y
3.安装nginx
rpm -Uvh http://nginx.org/packages/centos/6/noarch/RPMS/nginx-release-centos-6-0.el6.ngx.noarch.rpm
yum install nginx -y
4.安装MariaDB
vi /etc/yum.repos.d/MariaDB.repo
yum install MariaDB-server MariaDB-client MariaDB-devel -y
5.验证hhvm
hhvm --version
6.修改hhvm配置文件
cp /etc/init.d/hhvm /etc/init.d/hhvm.old--
cp /etc/hhvm/config.hdf /etc/hhvm/config.hdf.old--
cp /etc/hhvm/php.ini /etc/hhvm/php.ini.old--
cp /etc/hhvm/server.hdf /etc/hhvm/server.hdf.old--
wget -O /etc/init.d/hhvm https://cdn.zntec.cn/store/tools/vhost_hhvm/hhvm
或者
wget -O /etc/init.d/hhvm http://download.slogra.com/hhvm/hhvm
chmod +x /etc/init.d/hhvm
cd /etc/hhvm
vi server.ini
vi config.hdf
vi php.ini
vi /etc/nginx/hhvm.conf
配置nginx虚拟主机:
vi /etc/nginx/conf.d/www.conf
配置完成后,启动nginx hhvm MariaDB
service mysql start
service hhvm start
service nginx start
chkconfig mysql on
chkconfig hhvm on
chkconfig nginx on
mysql -u root
MariaDB [(none)]>UPDATE mysql.user SET password=PASSWORD('passwd') WHERE User='root';
MariaDB [(none)]>FLUSH PRIVILEGES;
好了,现在我们来测试hhvm是否可以连上mariadb.
vi /var/www/vhosts/index.php
保存后,我们在浏览器访问http://192.168.10.241

可以看到hhvm连接mariadb是成功的,现在我们进mariadb里看是否有数据写入.
mysql -u root -p
MariaDB [(none)]>use test
Reading table information for completion of table and column names
You can turn off this feature to get a quicker startup with -A
Database changed
MariaDB [(none)]>show tables;
+----------------+
| Tables_in_test |
+----------------+
| user_info |
+----------------+
1 row in set (0.00 sec)
MariaDB [(none)]>desc user_info;
+-----------+-------------+------+-----+---------+-------+
| Field | Type | Null | Key | Default | Extra |
+-----------+-------------+------+-----+---------+-------+
| user_id | varchar(15) | YES | | NULL | |
| user_name | varchar(15) | YES | | NULL | |
| user_age | int(11) | YES | | NULL | |
+-----------+-------------+------+-----+---------+-------+
3 rows in set (0.00 sec)
可以看到有数据写入,证明hhvm跟mariadb之间通信是成功的.
好了,本文就到这里了,有兴趣的朋友可以自己继续去研究.
系统:centos 6.5(64位)
1.添加搭建hhvm需要的源
wget -O /etc/yum.repos.d/CentOS-Base.repo http://mirrors.163.com/.help/CentOS6-Base-163.repo
wget -O /etc/yum.repos.d/hop5.repo http://www.hop5.in/yum/el6/hop5.repo
rpm -Uvh http://ftp.riken.jp/Linux/fedora/epel/6/x86_64/epel-release-6-8.noarch.rpm
或者
rpm -Uvh http://download.slogra.com/yum-x86_64/epel-release-6-8.noarch.rpm
yum -y install libmcrypt-devel glog-devel jemalloc-devel tbb-devel libdwarf-devel mysql-devel \
libxml2-devel libicu-devel pcre-devel gd-devel boost-devel sqlite-devel pam-devel \
bzip2-devel oniguruma-devel openldap-devel readline-devel libc-client-devel libcap-devel \
libevent-devel libcurl-devel libmemcached-devel
2.安装hhvm
yum install hhvm -y
3.安装nginx
rpm -Uvh http://nginx.org/packages/centos/6/noarch/RPMS/nginx-release-centos-6-0.el6.ngx.noarch.rpm
yum install nginx -y
4.安装MariaDB
vi /etc/yum.repos.d/MariaDB.repo
[mariadb]
name = MariaDB
baseurl = http://yum.mariadb.org/5.5/centos6-amd64
gpgkey=https://yum.mariadb.org/RPM-GPG-KEY-MariaDB
gpgcheck=1
yum install MariaDB-server MariaDB-client MariaDB-devel -y
5.验证hhvm
hhvm --version
6.修改hhvm配置文件
cp /etc/init.d/hhvm /etc/init.d/hhvm.old--
cp /etc/hhvm/config.hdf /etc/hhvm/config.hdf.old--
cp /etc/hhvm/php.ini /etc/hhvm/php.ini.old--
cp /etc/hhvm/server.hdf /etc/hhvm/server.hdf.old--
wget -O /etc/init.d/hhvm https://cdn.zntec.cn/store/tools/vhost_hhvm/hhvm
或者
wget -O /etc/init.d/hhvm http://download.slogra.com/hhvm/hhvm
chmod +x /etc/init.d/hhvm
cd /etc/hhvm
vi server.ini
; php options
pid = /var/run/hhvm/pid

; hhvm specific
;hhvm.server.port = 9001
hhvm.server.file_socket = /var/run/hhvm/sock
hhvm.server.type = fastcgi
hhvm.server.default_document = index.php
hhvm.log.use_log_file = true
hhvm.log.file = /var/log/hhvm/error.log
hhvm.repo.central.path = /var/run/hhvm/hhvm.hhbc
vi config.hdf
ResourceLimit {
  CoreFileSize = 0          # in bytes
  MaxSocket = 10000         # must be not 0, otherwise HHVM will not start
  SocketDefaultTimeout = 5  # in seconds
  MaxRSS = 0
  MaxRSSPollingCycle = 0    # in seconds, how often to check max memory
  DropCacheCycle = 0        # in seconds, how often to drop disk cache
}

Log {
  Level = Info
  AlwaysLogUnhandledExceptions = true
  RuntimeErrorReportingLevel = 8191
  UseLogFile = true
  UseSyslog = false
  File = /var/log/hhvm/error.log
  Access {
    * {
      File = /var/log/hhvm/access.log
      Format = %h %l %u % t \"%r\" %>s %b
    }
  }
}

MySQL {
  ReadOnly = false
  ConnectTimeout = 1000      # in ms
  ReadTimeout = 1000         # in ms
  SlowQueryThreshold = 1000  # in ms, log slow queries as errors
  KillOnTimeout = false
}

Mail {
  SendmailPath = /usr/sbin/sendmail -t -i
  ForceExtraParameters =
}
vi php.ini
hhvm.mysql.socket = /var/lib/mysql/mysql.sock ;
expose_php = 0 ;
memory_limit = 400M
post_max_size = 50M
vi /etc/nginx/hhvm.conf
location ~ [^/]\.php(/|$) {
    fastcgi_keep_conn on;
    fastcgi_pass   unix:/var/run/hhvm/sock;
    fastcgi_index  index.php;
    fastcgi_param  SCRIPT_FILENAME $document_root$fastcgi_script_name;
    include        fastcgi_params;
}
配置nginx虚拟主机:
vi /etc/nginx/conf.d/www.conf
server {
    listen 80;
    server_name 192.168.10.241;   #这里修改成你自己的域名或ip
    index index.html index.htm index.php;
    root  /var/www/vhosts/;       #这里修改成你自己的目录

    #include wordpress.conf;
    include hhvm.conf;

    location ~ .*\.(gif|jpg|jpeg|png|bmp|swf)$ {
        expires      30d;
    }

    location ~ .*\.(js|css)?$ {
        expires      12h;
    }

    access_log  /var/log/nginx/access.log;
}
配置完成后,启动nginx hhvm MariaDB
service mysql start
service hhvm start
service nginx start
chkconfig mysql on
chkconfig hhvm on
chkconfig nginx on
mysql -u root
MariaDB [(none)]>UPDATE mysql.user SET password=PASSWORD('passwd') WHERE User='root';
MariaDB [(none)]>FLUSH PRIVILEGES;
好了,现在我们来测试hhvm是否可以连上mariadb.
vi /var/www/vhosts/index.php
<?php
phpinfo();
$link=mysql_connect("localhost","root","passwd");
if(!$link) echo "FAILD!连接错误,用户名密码不对,这是slogra的测试";
else echo "is OK!可以连接,这是slogra的测试";

mysql_select_db("test");
$sql = "CREATE TABLE user_info
(
user_id varchar(15),
user_name varchar(15),
user_age int
)";

mysql_query($sql,$link);

mysql_close($link);

?>
保存后,我们在浏览器访问http://192.168.10.241
可以看到hhvm连接mariadb是成功的,现在我们进mariadb里看是否有数据写入.
mysql -u root -p
MariaDB [(none)]>use test
Reading table information for completion of table and column names
You can turn off this feature to get a quicker startup with -A
Database changed
MariaDB [(none)]>show tables;
+----------------+
| Tables_in_test |
+----------------+
| user_info |
+----------------+
1 row in set (0.00 sec)
MariaDB [(none)]>desc user_info;
+-----------+-------------+------+-----+---------+-------+
| Field | Type | Null | Key | Default | Extra |
+-----------+-------------+------+-----+---------+-------+
| user_id | varchar(15) | YES | | NULL | |
| user_name | varchar(15) | YES | | NULL | |
| user_age | int(11) | YES | | NULL | |
+-----------+-------------+------+-----+---------+-------+
3 rows in set (0.00 sec)
可以看到有数据写入,证明hhvm跟mariadb之间通信是成功的.
好了,本文就到这里了,有兴趣的朋友可以自己继续去研究.


评论: